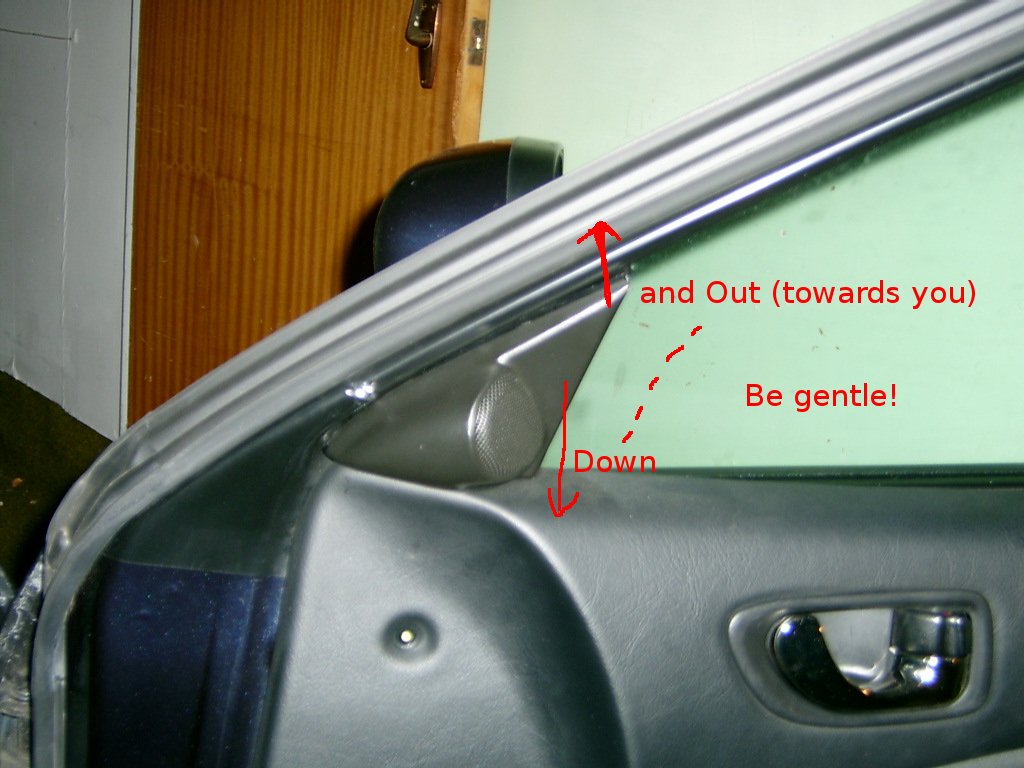
Step 1: Remove tweeter cover. Be super careful as it has weak plastic clips on it that will easily break.
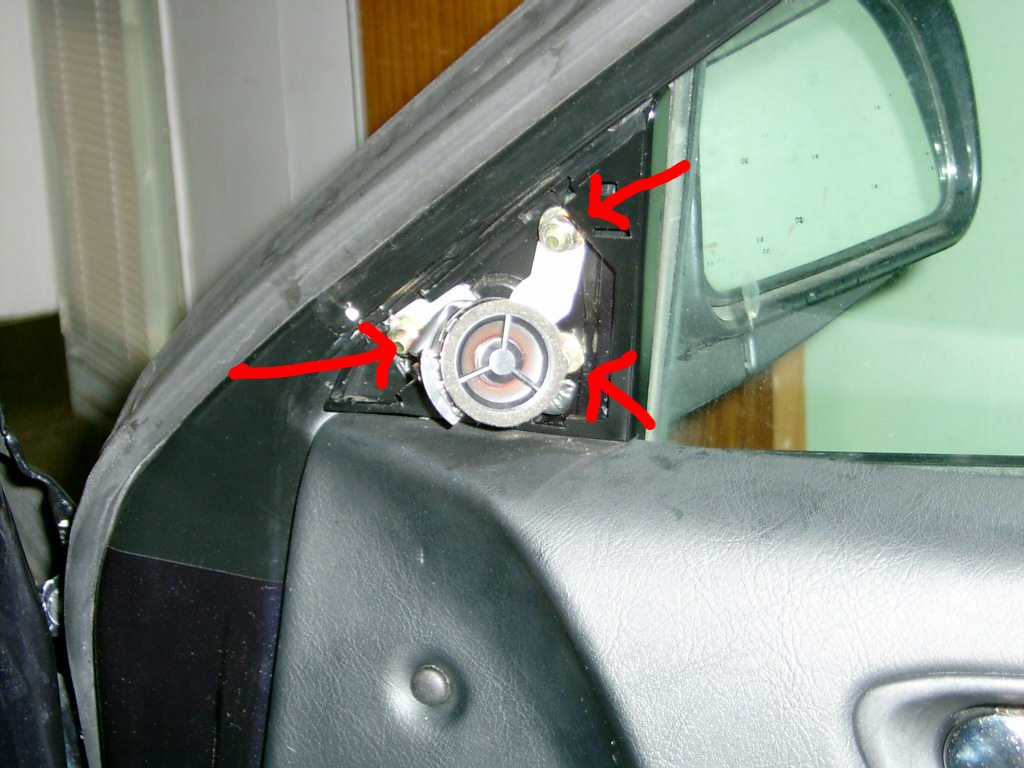
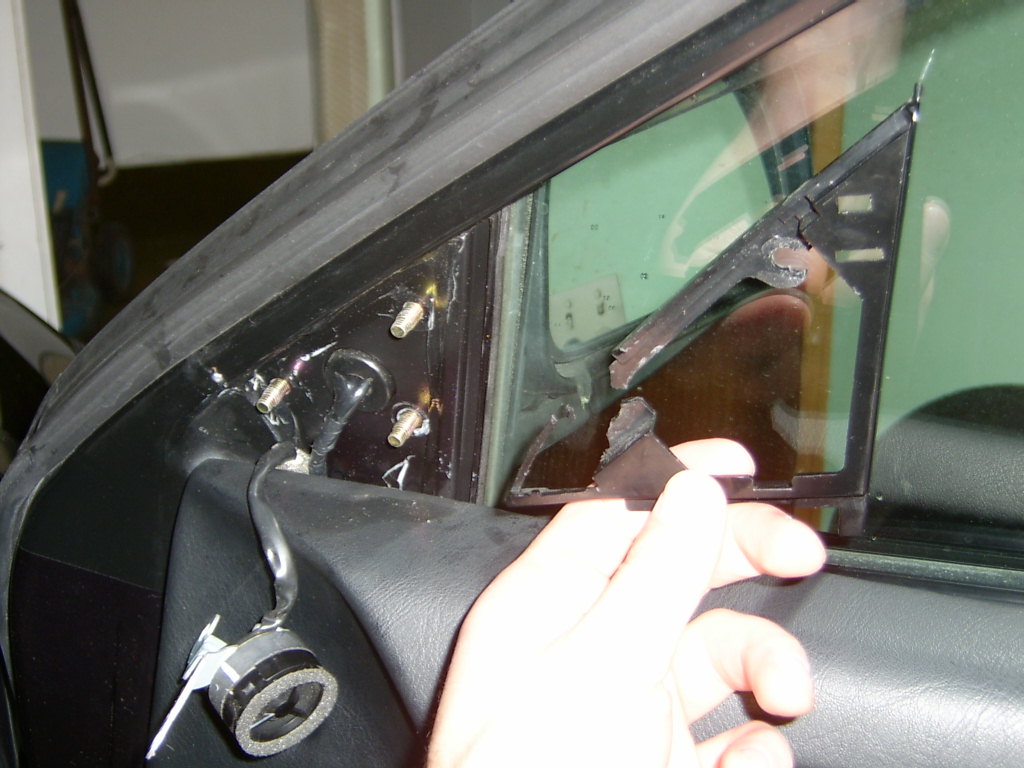
General technique is to pull gently down towards bottom of door and out at the top edge. If you break it the re-order code is printed on it. For drivers door it is MR275264 RH, or MR275263 LH for passenger, they are about nz$13 each. I know this because I broke mine due to the bracket being installed by a previous owner incorrectly (and they broke the bracket too). So it would pay when you reasseble to compare the bracket for the tweeter cover with the opposite side of the car making sure the edges line up the same with the door. Now remove the tweeter cover bracket by removing the three screws and popping out. Make sure your wing mirror doesn't fall off and break though as the screws also hold the wing mirror on.
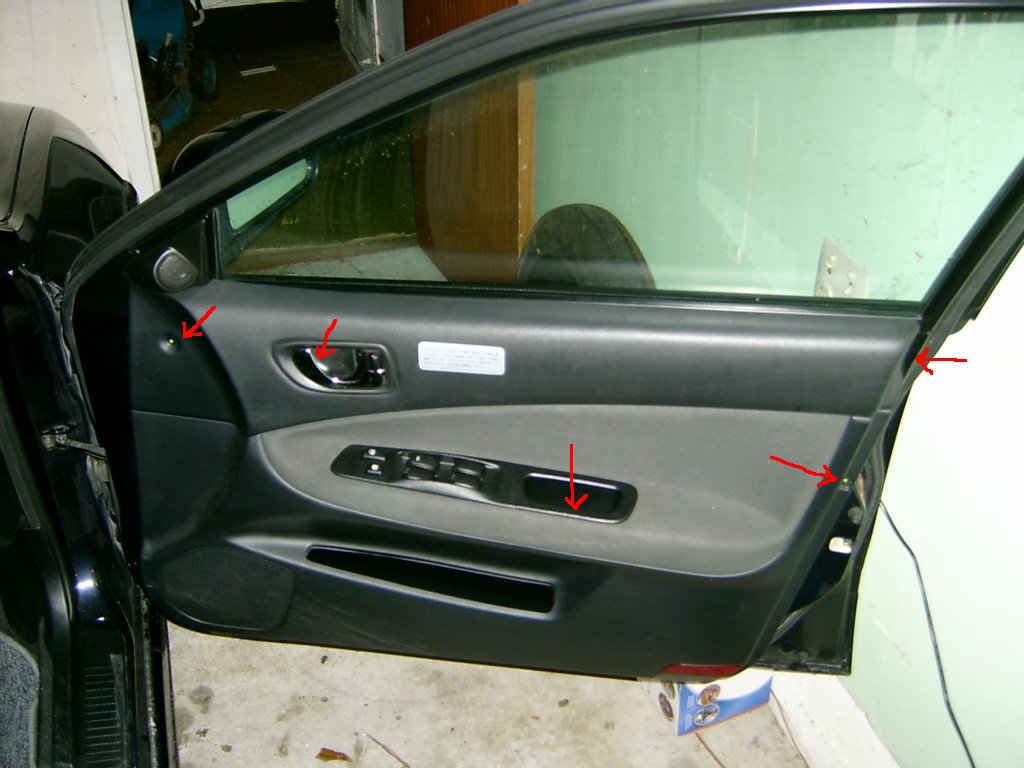
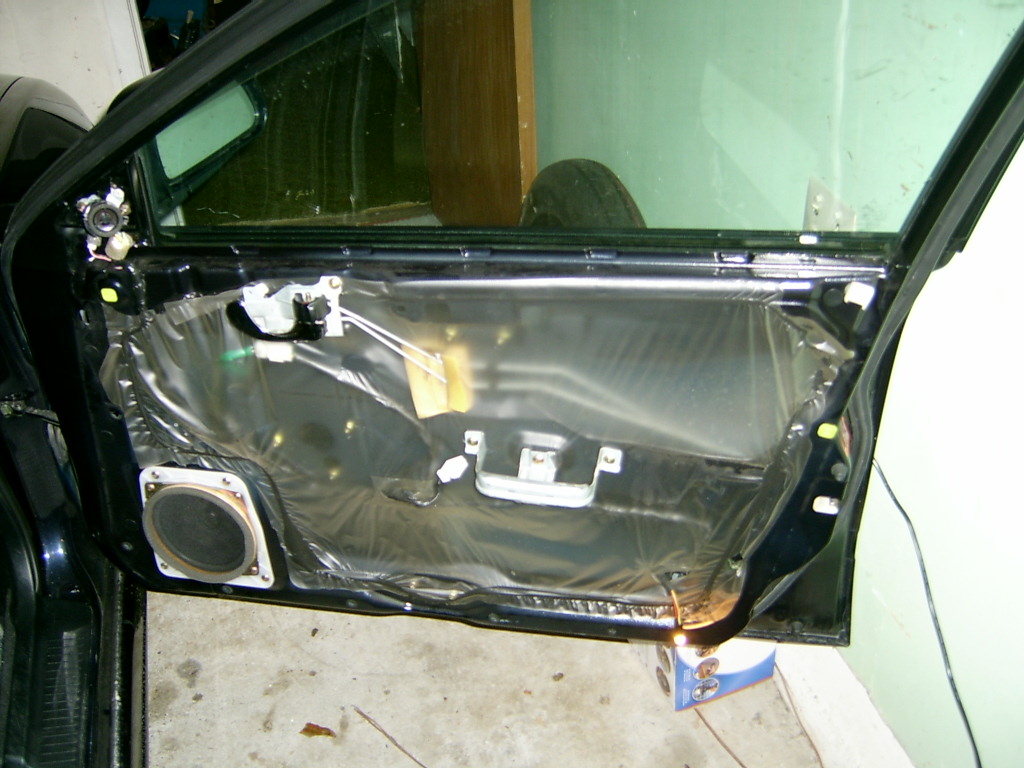
Step 2: Remove screws at locations marked with red arrows.
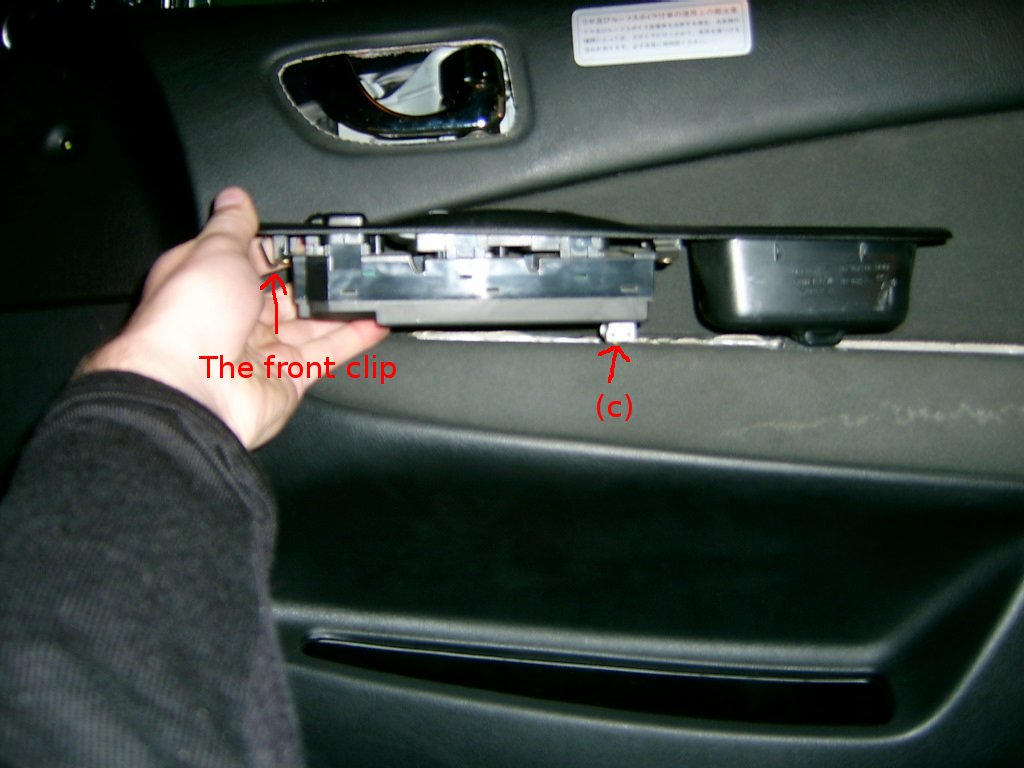
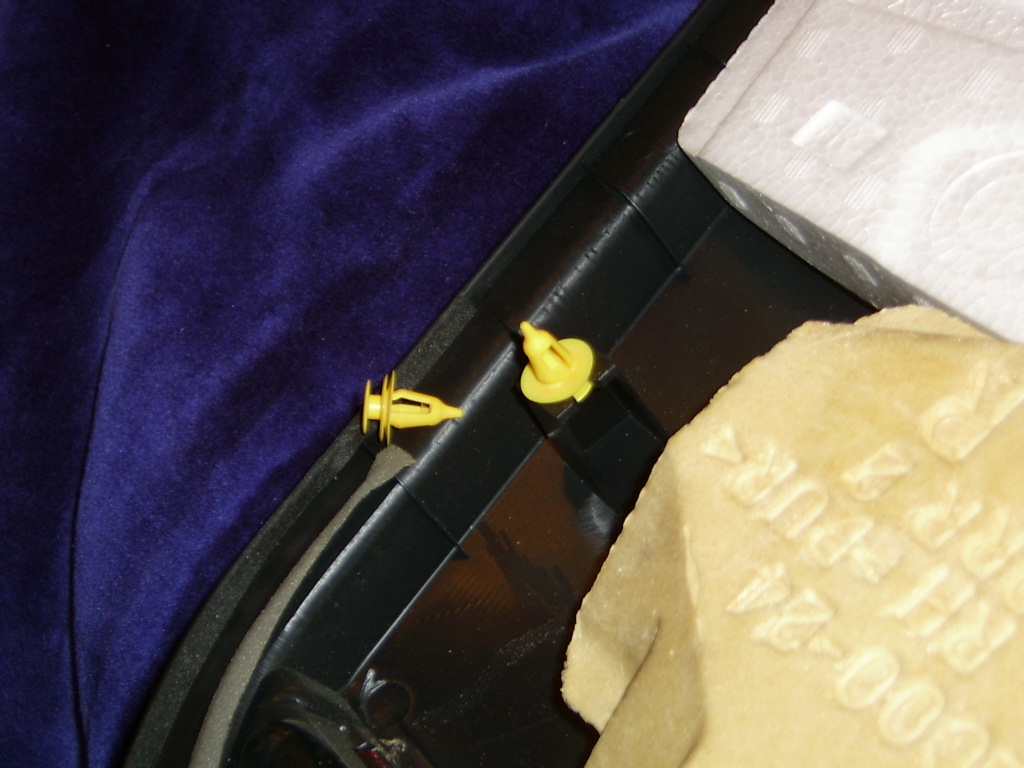
Step 3: Pull lower right edge of door to dislodge plastic door plugs.
Step 4: Unplug window controls by reaching behind door. Note: In my pic I've removed the controls, but you don't have to do this.
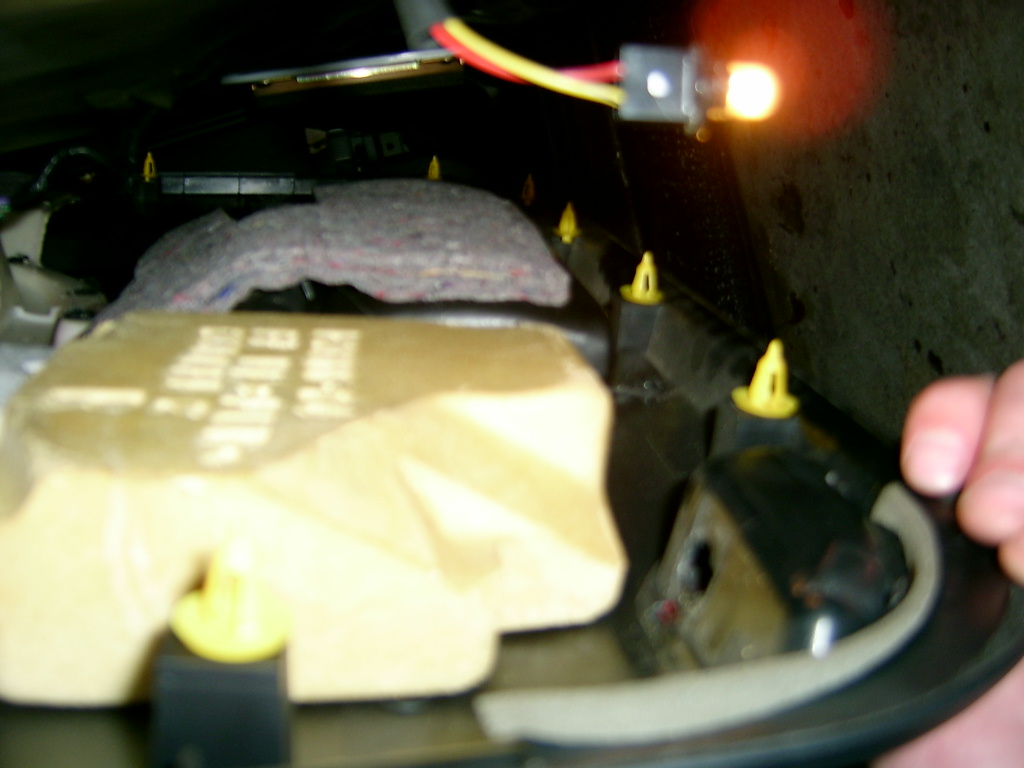
Step 5: Remove light bulb from socket. This is a simple twist and pull.
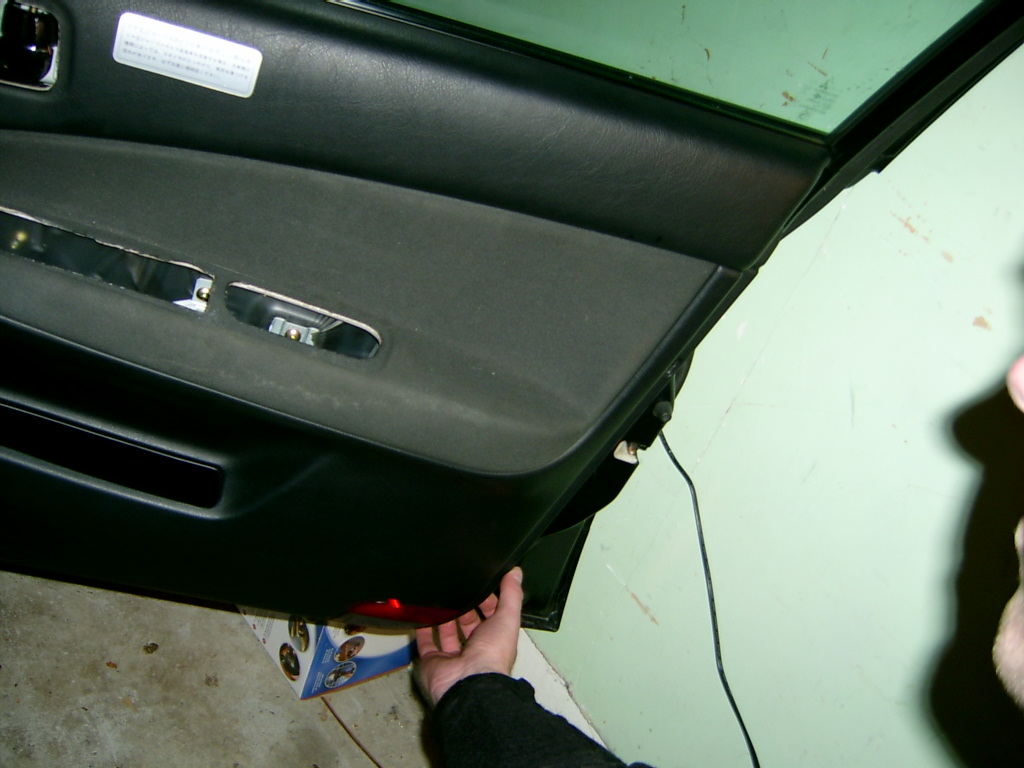
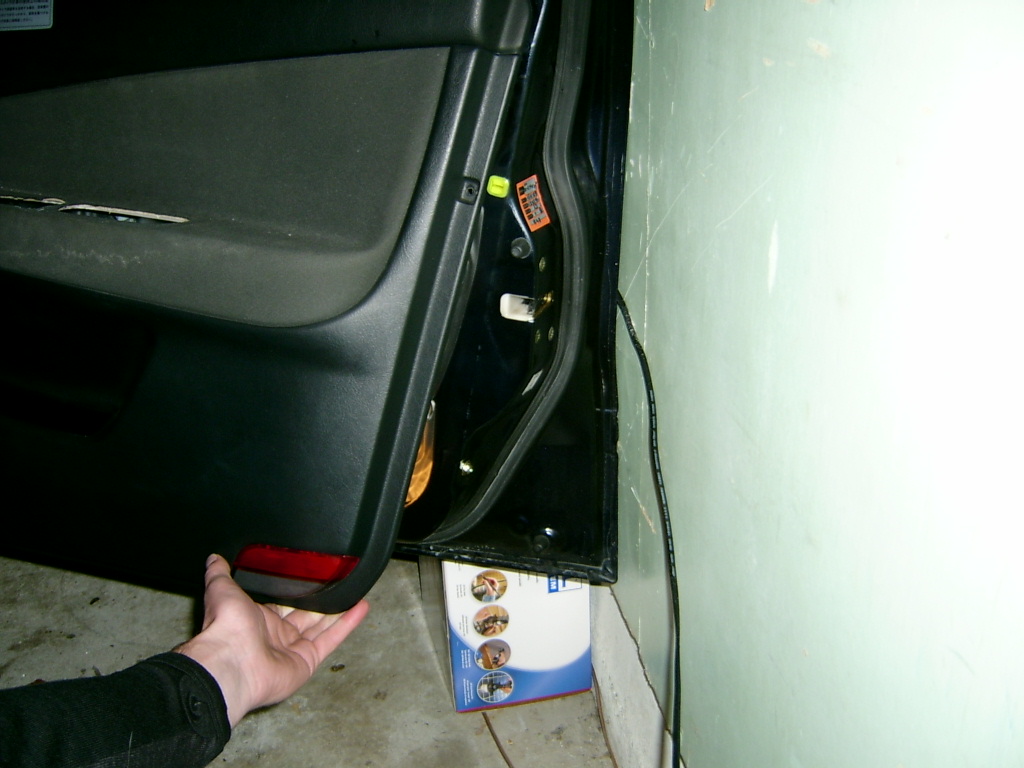
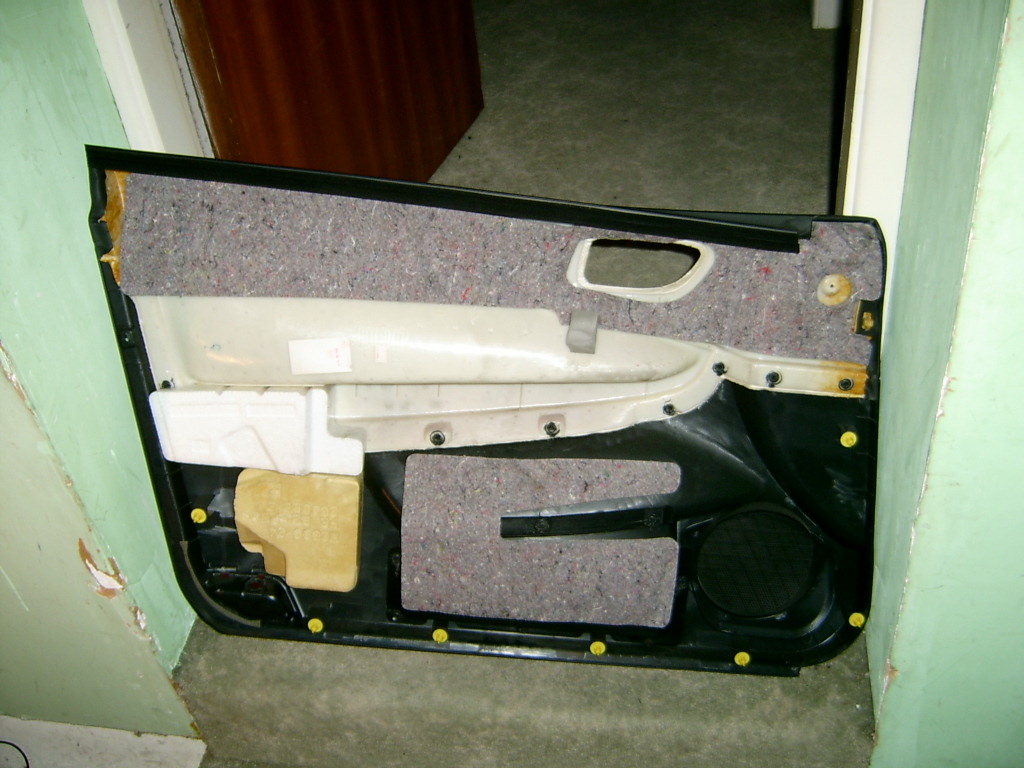
Step 6: (a) Lift door cover up to dislodge.
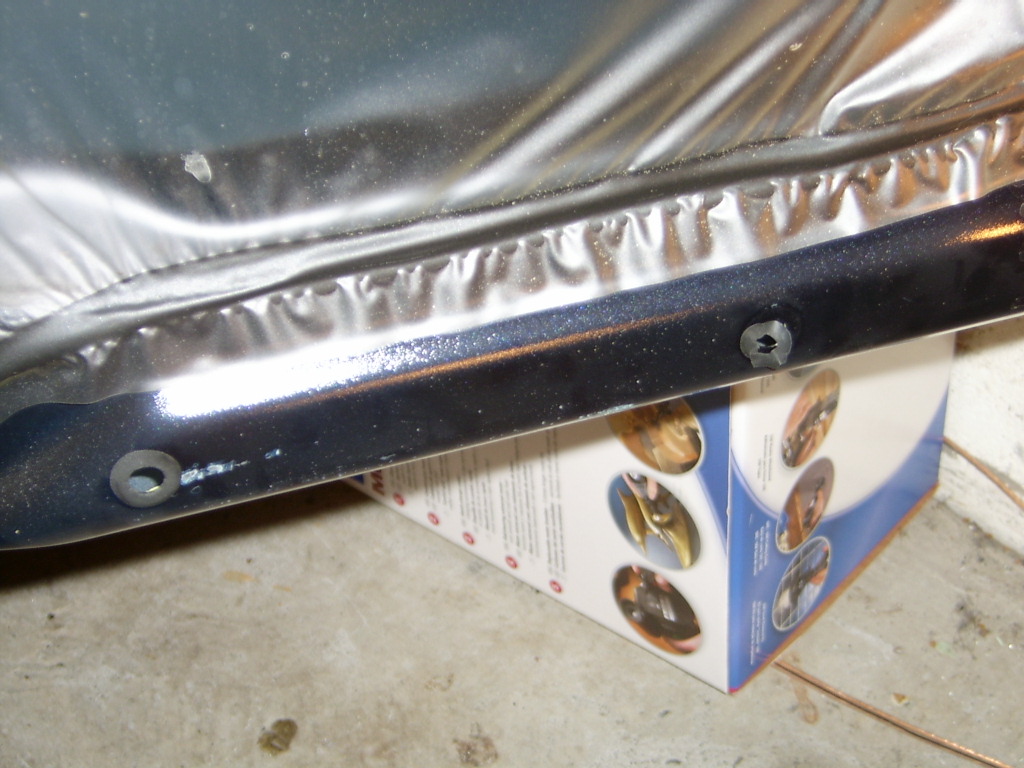
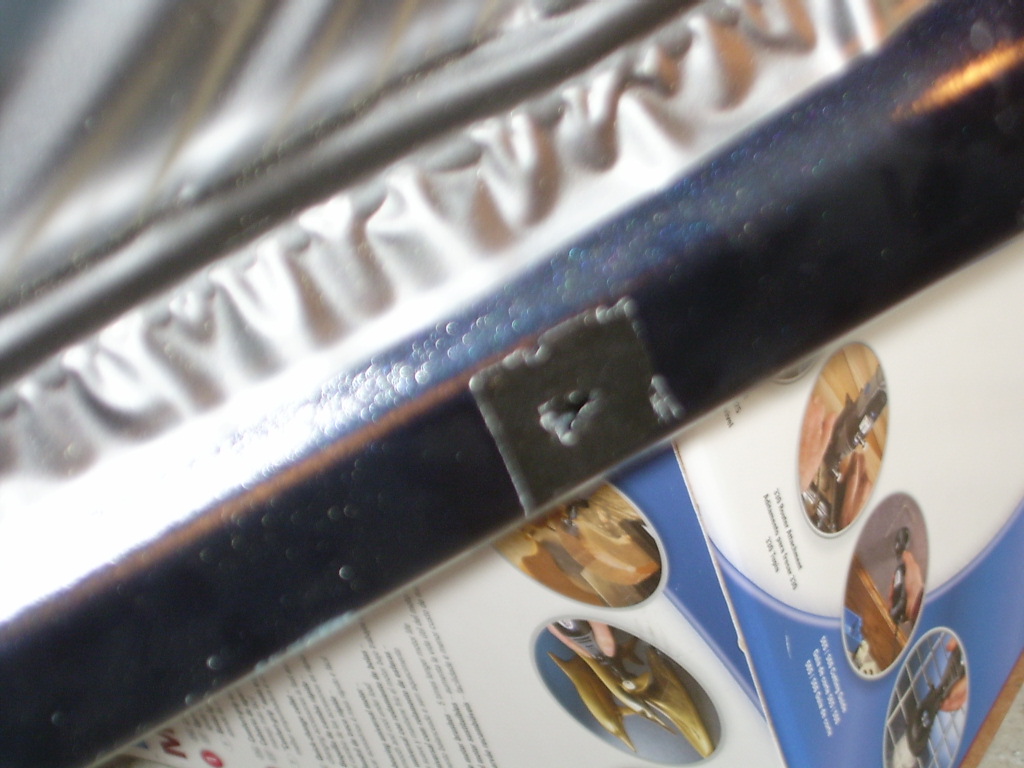
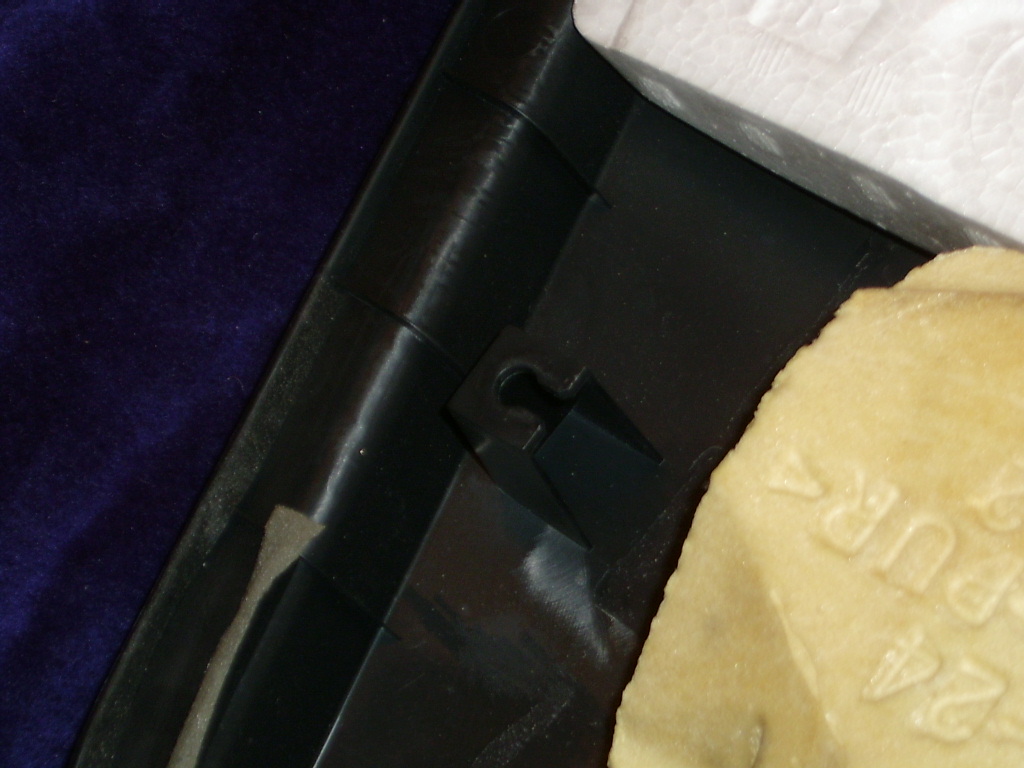
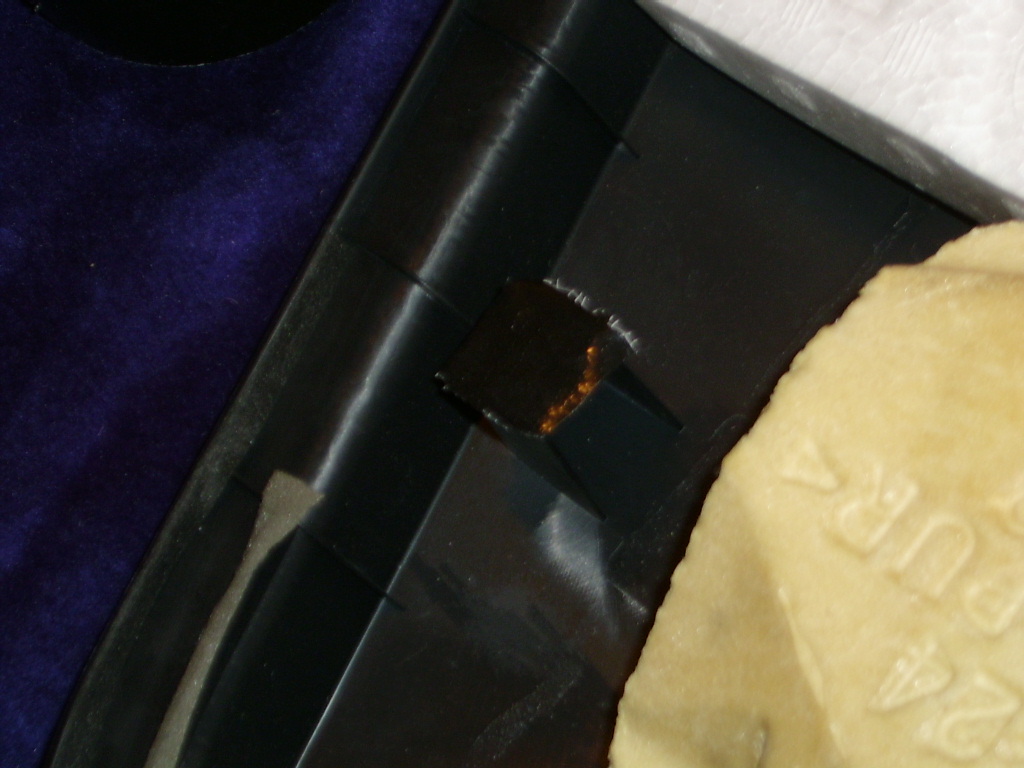
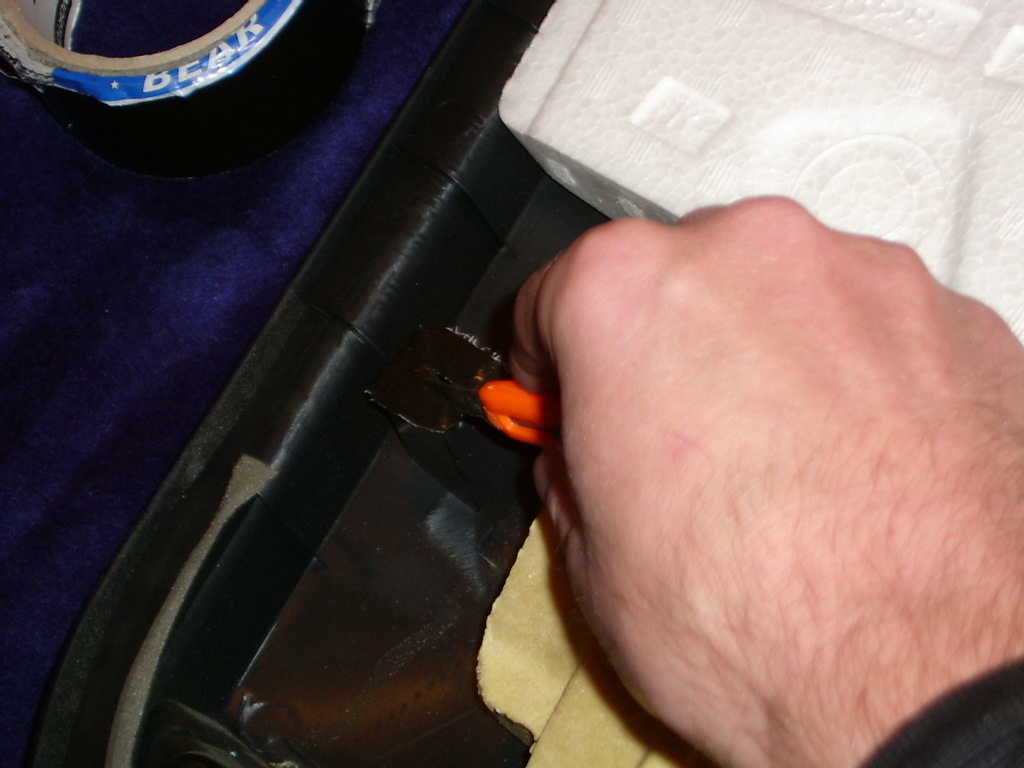
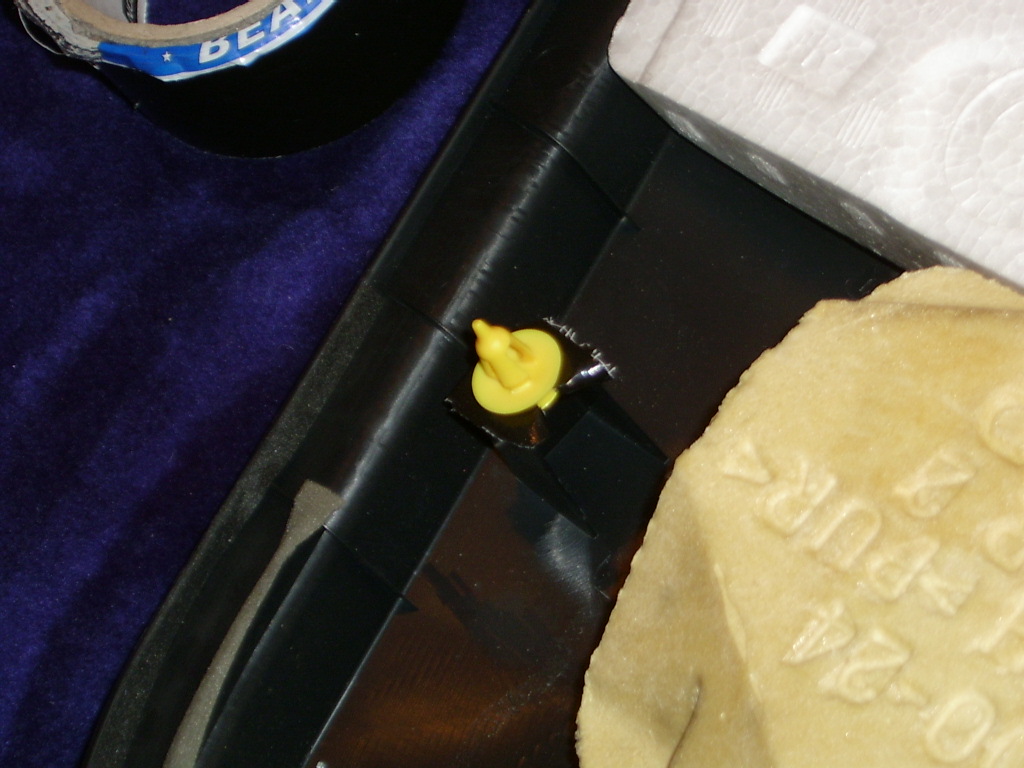
Step 7: Check you havn't munted rubber plug hole covers. If so get some duct tape and tape over holes then push screw driver through.
Step 8: And while your at it the plugs don't mount to the door cover securely, this can help create rattles if the door is getting a bit old and worn. So pop the plugs out and stick duct tape on their sockets, cut a hole in the tape for the plug then put them back. They should be snug now.